
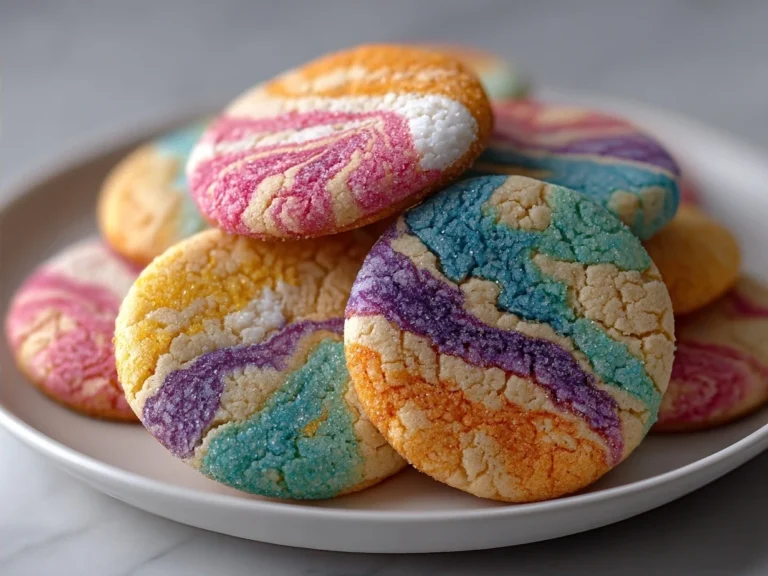
Alright, flavor adventurers, get ready to unleash your inner artist! Today, we’re diving headfirst into a world of swirling colors and sweet satisfaction with these show-stopping Colorful Marbled Sugar Cookies.
Forget boring desserts! We’re about to create edible masterpieces that are as fun to make as they are to devour. Trust me, these aren’t your grandma’s plain old sugar cookies – unless your grandma is secretly a rockstar baker with a penchant for vibrant hues.
I remember the first time I tasted a cookie that looked like this; it was at a farmer’s market. The colors popped! The swirled icing caught my eye immediately, and that first bite? Total bliss. It was sweet, slightly crunchy, and utterly unforgettable. I knew right then and there I had to recreate that magic, Cuba Queen style!
My mission was clear: develop a Colorful Marbled Sugar Cookies recipe that was not only visually stunning but also packed a serious flavor punch. The first few attempts were… well, let’s just say they looked more like muddy puddles than vibrant swirls. But after tweaking the icing consistency and perfecting my swirling technique, I finally nailed it.
I knew I’d nailed this recipe when I brought a batch to a party. The reaction? Gasps, oohs, and aahs! Everyone was snapping photos before they even dared to take a bite. That’s when I knew these Colorful Marbled Sugar Cookies were destined for greatness.
These cookies are all about expressing your creativity and having a blast in the kitchen. It’s the kind of recipe that turns an ordinary afternoon into a celebration. And that’s what Cuba Queen is all about – bringing joy and bold flavors to every bite! Get ready, because I am about to share all my cookie secrets with you!
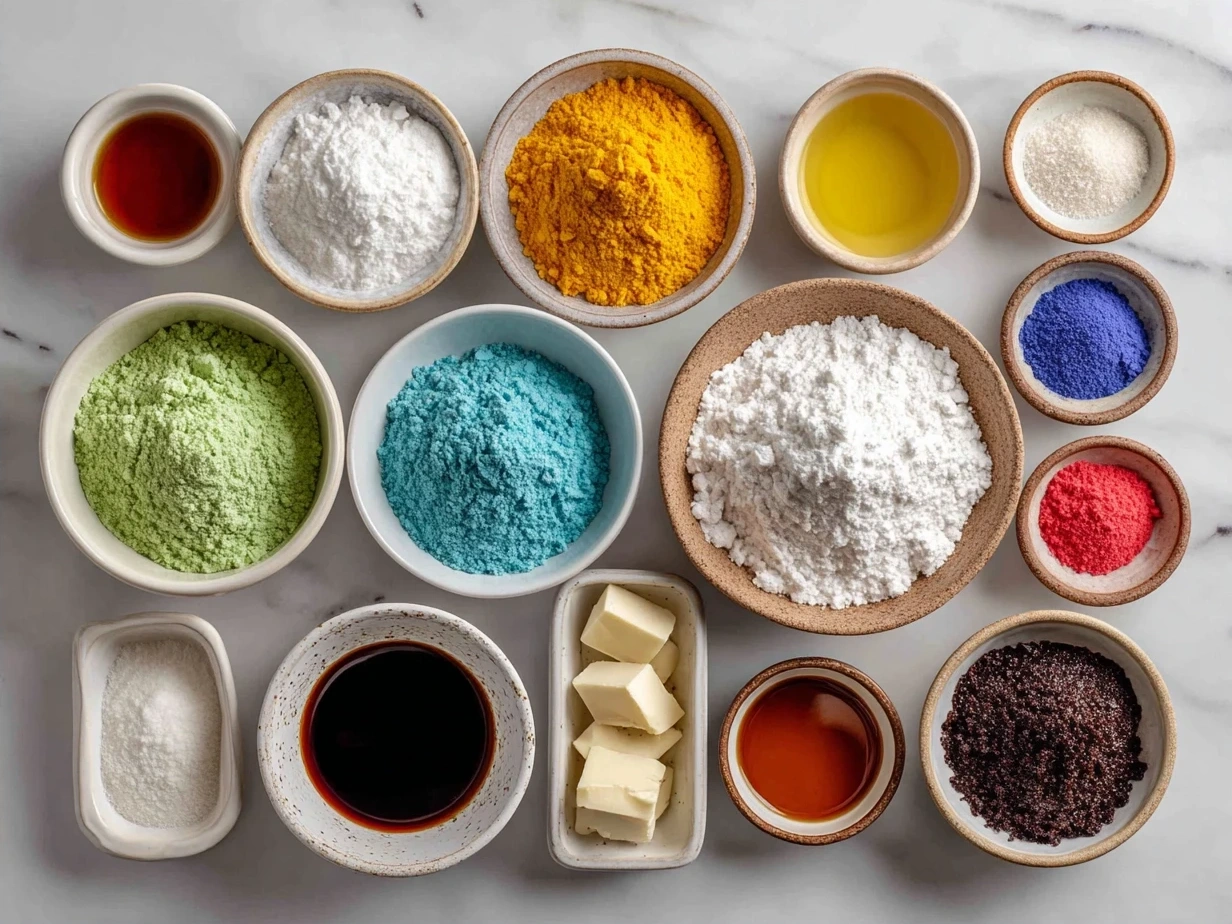
INGREDIENTS You Need for This:
This Colorful Marbled Sugar Cookies ingredient list is short but mighty! Here’s what you’ll need to make some magic:
- 3 cups all-purpose flour: The foundation of our perfect sugar cookies.
- 1 teaspoon baking powder: Gives our cookies that perfect, tender crumb.
- ½ teaspoon salt: Balances the sweetness and enhances all the other flavors.
- 1 cup (2 sticks) unsalted butter, softened: Make sure it’s nice and soft for easy creaming!
- 1 ½ cups granulated sugar: Sweetness is key!
- 2 large eggs: Binds everything together and adds richness.
- 1 teaspoon vanilla extract: A touch of vanilla elevates the flavor to the next level.
- Royal Icing: Premade or homemade works; divided into separate bowls for coloring. I usually get mine from Chelsweets.com.
- Gel food coloring (various colors): This is where the fun begins! Gel colors are more concentrated, giving you those vibrant, eye-catching hues.
The secret to truly epic Colorful Marbled Sugar Cookies is using gel food coloring instead of liquid. Liquid food coloring can thin out your icing, making it harder to create those beautiful swirls. You can usually find it at your local craft store or online!
Splurge on high-quality vanilla extract – trust me, it makes a difference! The flavor is so much richer and more complex. If you are looking for even richer cookies, try making my brown sugar cookies.
For a budget-friendly alternative, you can use store-brand butter, but make sure it’s unsalted. That way, you can control the amount of salt in the recipe.
Store your butter properly! Keep it in the fridge until you’re ready to use it, then let it soften at room temperature for about 30 minutes to an hour. This will make it easier to cream with the sugar.
STEP-BY-STEP INSTRUCTIONS:
Get ready to transform your kitchen into a Colorful Marbled Sugar Cookies wonderland! Here’s how we’re going to do it:
- Prep the Dough: In a medium bowl, whisk together the flour, baking powder, and salt. Set aside. This ensures that the baking powder and salt are evenly distributed, leading to a better cookie texture.
- Cream the Butter and Sugar: In a large bowl, cream together the softened butter and sugar until light and fluffy. This is a crucial step for creating a tender cookie. Don’t skimp on the creaming time!
- Add Eggs and Vanilla: Beat in the eggs one at a time, then stir in the vanilla extract. Make sure each egg is fully incorporated before adding the next.
- Combine Wet and Dry: Gradually add the dry ingredients to the wet ingredients, mixing until just combined. Be careful not to overmix! Overmixing can lead to tough cookies.
- Chill the Dough: Wrap the dough in plastic wrap and chill for at least 30 minutes. This helps prevent the cookies from spreading too much in the oven. Pro tip for Colorful Marbled Sugar Cookies perfection: chill for even longer – up to 2 hours – for extra firm cookies.
- Roll and Cut: Preheat your oven to 375°F (190°C). On a lightly floured surface, roll out the dough to about ¼ inch thickness. Use cookie cutters to cut out your desired shapes. I love using fun, whimsical shapes for these Rainbow Sugar Cookies!
- Bake: Place the cookies on a baking sheet lined with parchment paper. Bake for 8-10 minutes, or until the edges are lightly golden brown. In my kitchen, these Colorful Marbled Sugar Cookies take exactly 9 minutes to bake to perfection.
- Cool: Let the cookies cool on the baking sheet for a few minutes before transferring them to a wire rack to cool completely. This prevents them from breaking while they’re still warm.
- Prepare the Icing: Divide the royal icing into separate bowls, one for each color you want to use. Add a few drops of gel food coloring to each bowl and stir until you achieve your desired shades. Remember, gel colors are potent, so start with a little and add more as needed.
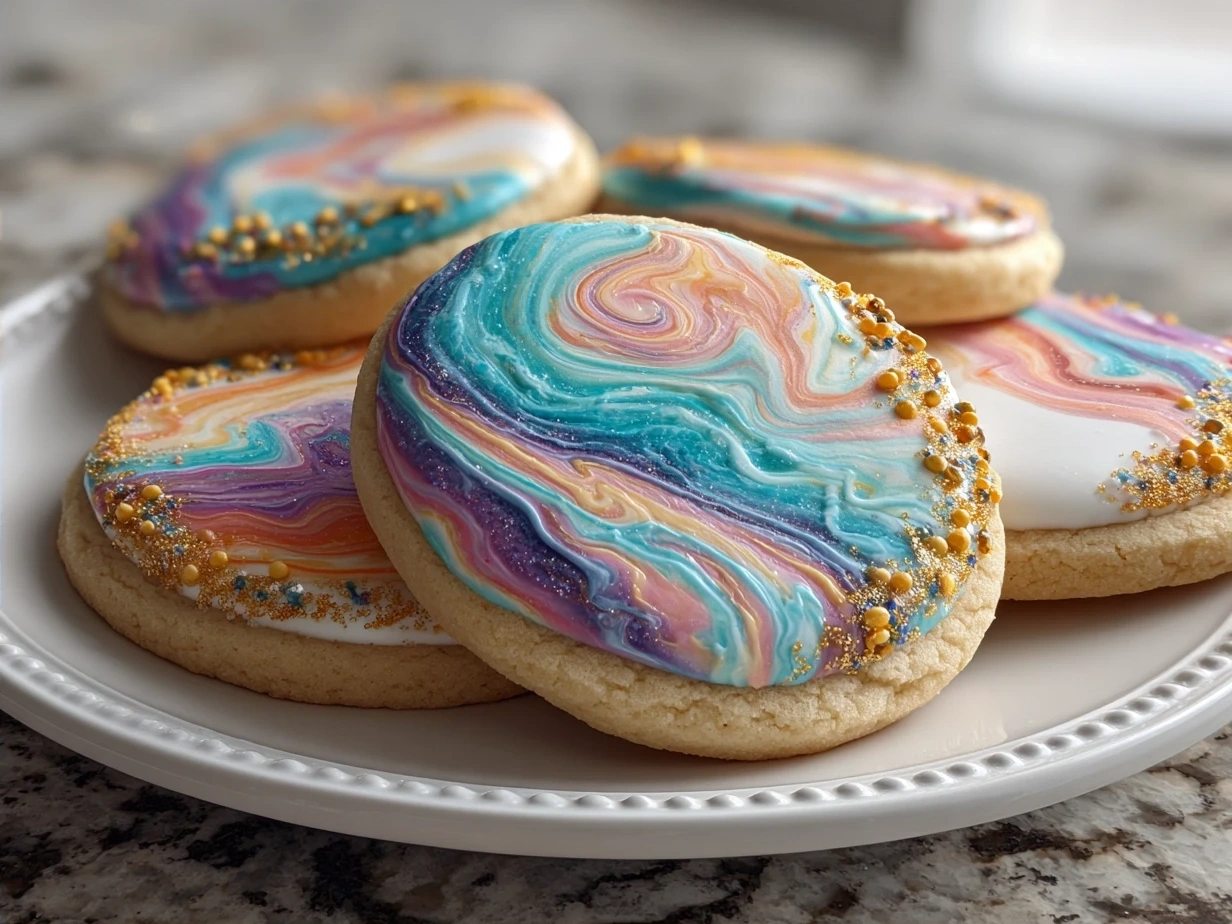
- Marbling Time! On a cookie, spoon dollops of colored icing on top of each other. Don’t overthink it, just have fun and place the different colors around randomly.
- Swirl: Use a toothpick, skewer, or knife to gently swirl the colors together to create a marble pattern. Don’t over mix! Less is more here – you want distinct swirls, not a blended mess.
- Set: Allow the icing to set completely before stacking or serving. This usually takes a few hours. Your Tie-Dye Cookies should look vibrant and mesmerizing.
Here’s where most people mess up their Colorful Marbled Sugar Cookies – they overbake them! Keep a close eye on the oven and pull them out as soon as the edges start to turn golden.
While your Colorful Marbled Sugar Cookies are working their magic in the oven, grab your camera – these are Instagram gold! You can also check Facebook groups for some more inspiration, such as tie-dye sugar cookies with marble royal icing.
PRESENTATION:
Presentation is key when it comes to these Colorful Marbled Sugar Cookies! They’re already so visually stunning, but a little extra effort can take them to the next level.
People absolutely lose their minds when I serve these Colorful Marbled Sugar Cookies at parties. They’re always the first thing to disappear!
For maximum impact, arrange the cookies on a tiered dessert stand. This showcases the vibrant colors and intricate patterns.
Bold pairing suggestions that complement these Colorful Marbled Sugar Cookies include vanilla ice cream, fresh berries, or a simple glass of milk.
These Colorful Marbled Sugar Cookies absolutely slay at birthday parties, holidays, or any special occasion that calls for a touch of whimsy. I love to bake up a batch when I am looking for something new and bold.
For an Instagram-worthy plating technique, try drizzling melted white chocolate over the cookies and sprinkling with edible glitter.
If you have any leftover cookies (which is rare!), you can crush them up and use them as a topping for ice cream or yogurt. They also make a delicious addition to milkshakes!
For seasonal Colorful Marbled Sugar Cookies variations, experiment with different food colorings and cookie cutter shapes. Think pastel colors for Easter, red and green for Christmas, or orange and black for Halloween.
FAQs:
Got questions? I’ve got answers! Here are some common challenges and my solutions for Colorful Marbled Sugar Cookies success:
Q: Can I make this Colorful Marbled Sugar Cookies spicier?
A: Absolutely! Add a pinch of cayenne pepper to the dough for a subtle kick. You can also add a dash of cinnamon or nutmeg for a warmer, more comforting flavor.
Q: What if I don’t have royal icing?
A: No problem! You can use a simple powdered sugar glaze instead. Just whisk together powdered sugar with a little milk or lemon juice until you reach your desired consistency. The glaze won’t have the same glossy finish as royal icing, but it will still taste delicious.
Q: How do I know when my Colorful Marbled Sugar Cookies is perfectly done?
A: The edges should be lightly golden brown, and the centers should be set but still slightly soft. Don’t overbake them! Overbaked cookies will be dry and crumbly.
Q: Can I use different extracts instead of vanilla?
A: Definitely! Almond extract, lemon extract, or even a dash of rum extract would be delicious. Get creative and experiment with different flavor combinations!
Q: My icing is too thin/thick. How do I fix it?
A: If your icing is too thin, add a little more powdered sugar, one tablespoon at a time, until you reach your desired consistency. If it’s too thick, add a little more milk or water, one teaspoon at a time.
Q: Can I freeze the Colorful Marbled Sugar Cookies dough?
A: Yes! Wrap the dough tightly in plastic wrap and store it in the freezer for up to 2 months. When you’re ready to bake, thaw the dough in the refrigerator overnight and proceed with the recipe as directed.
Q: How can I prevent my Colorful Marbled Sugar Cookies from spreading too much in the oven?
A: Make sure your butter is properly softened, not melted. Also, chill the dough for at least 30 minutes before rolling it out. And don’t overcrowd the baking sheet!
CONCLUSION:
These Colorful Marbled Sugar Cookies are more than just a recipe – they’re an experience. They’re about unleashing your creativity, having fun in the kitchen, and creating something truly special that will bring joy to everyone who tastes them. This is what Cuba Queen is all about!
My Colorful Marbled Sugar Cookies Power Tips:
- Don’t be afraid to experiment with colors! The more vibrant, the better.
- Use a light touch when swirling the icing. Overmixing will muddy the colors.
- Let the icing set completely before stacking or serving. This prevents smudging.
Here are some Colorful Marbled Sugar Cookies variations I’ve created and loved:
- Chocolate Marble: Add cocoa powder to the dough for a rich, chocolatey twist.
- Lemon-Lime Marble: Use lemon and lime extracts in the dough and icing for a zesty, refreshing flavor.
- If you want a pumpkin flavored cookie, be sure to check out my pumpkin sugar cookies.
The lemon-lime version gets the biggest reactions – people just love the bright, citrusy flavor!
I’m confident that you can make these Colorful Marbled Sugar Cookies your signature dish. They’re guaranteed to impress and become a family favorite!
Don’t forget to share your creations with me! Tag me in your photos and let me know what flavor combinations you come up with. I can’t wait to see your edible masterpieces! Go ahead, bake up some magic and create some Colorful Marbled Sugar Cookies memories! Get inspiration from resources like Eat Move Make.
\n \n Print
Colorful Marbled Sugar Cookies

These colorful marbled sugar cookies are as fun to look at as they are to eat! The swirled dough creates a unique and festive treat perfect for any occasion.
- Prep Time: 20 minutes
- Cook Time: 10 minutes
- Total Time: 30 minutes
- Yield: 24 cookies
- Category: Dessert
- Method: Baked
- Cuisine: American
Ingredients
- 1 cup (2 sticks) unsalted butter, softened
- 1 ½ cups granulated sugar
- 2 large eggs
- 1 teaspoon vanilla extract
- 3 cups all-purpose flour
- 1 teaspoon baking powder
- ½ teaspoon salt
- Gel food coloring (various colors)
Instructions
- In a large bowl, cream together the butter and sugar until light and fluffy.
- Beat in the eggs one at a time, then stir in the vanilla extract.
- In a separate bowl, whisk together the flour, baking powder, and salt.
- Gradually add the dry ingredients to the wet ingredients, mixing until just combined.
- Divide the dough into several smaller bowls (depending on how many colors you want).
- Add a different color of gel food coloring to each bowl and mix until the color is evenly distributed.
- Roll small portions of different colored dough together into a ball, gently twisting and folding to create a marbled effect.
- Place the marbled dough balls onto a baking sheet lined with parchment paper.
- Bake in a preheated oven at 375°F (190°C) for 8-10 minutes, or until the edges are lightly golden.
- Let the cookies cool on the baking sheet for a few minutes before transferring them to a wire rack to cool completely.
Notes
For extra flavor, add a pinch of almond extract to the dough. You can also decorate the cooled cookies with icing and sprinkles.