
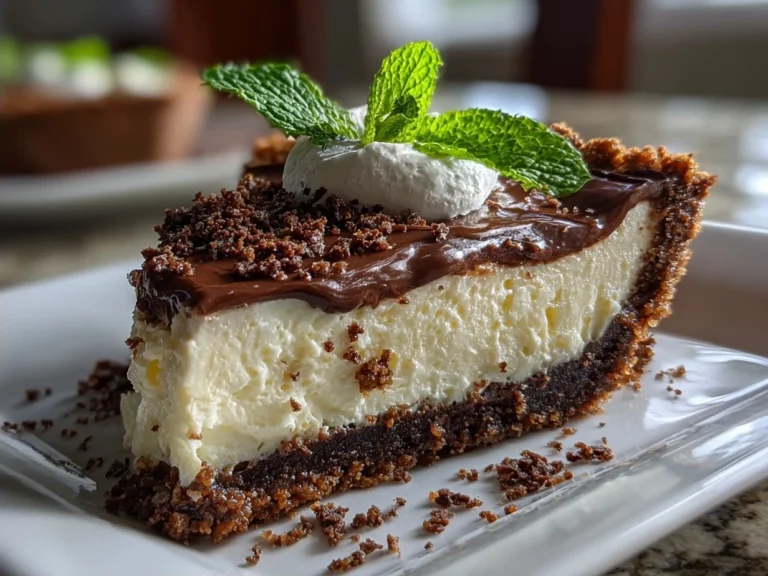
Oh my flavor adventurer, let me tell you about the exact moment I fell head over heels for Chocolate Mint Pie—a turning point in my daring culinary journey! Picture this: I was deep into a late-night taste-testing session in my kitchen, surrounded by dark chocolate shards and fresh mint leaves. The first bite hit me like a flavor bomb—cool mint rushing through the silky, decadent chocolate cream. The surprise was how perfectly these bold yet refreshing notes danced together, not overpowering, just pure harmony. That Chocolate Mint Pie instantly redefined what “bold flavor” means in dessert form for me.
Ingredients You Need for This:
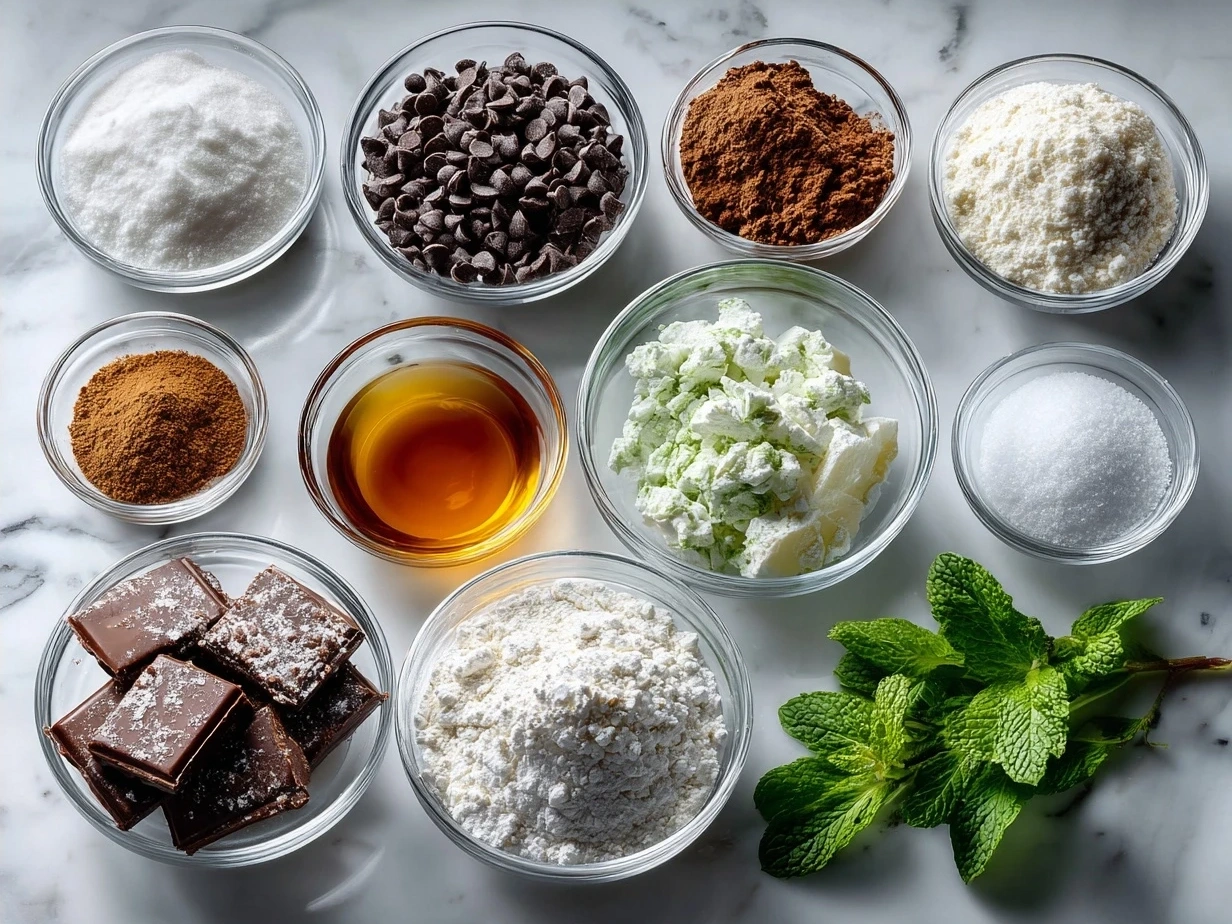
This Chocolate Mint Pie ingredient list is SHORT but mighty! Here’s what you need to throw down:
- 1 ½ cups chocolate cookie crumbs (the base: use Oreos or any rich chocolate wafer for that crunch)
- 5 tablespoons unsalted butter, melted (game-changer for that irresistible crust)
- 1 package (8 oz) cream cheese, softened (adds creamy tang and richness)
- 1 cup heavy whipping cream (to whip into clouds of fluffiness)
- 1 cup semi-sweet chocolate chips (splurge on high-quality chocolate—your pie will thank you)
- ¼ cup powdered sugar (for that just-right sweetness)
- 1 teaspoon peppermint extract (the mint chocolate dessert hero here—fresh, not fake)
- Whipped cream, for topping (because, duh!)
- Chocolate shavings or crushed candy canes, optional (for garnish and that fancy finish)
The secret to epic Chocolate Mint Pie is using real peppermint extract instead of mint flavoring—it brings a natural, punchy mint kick that won’t taste like toothpaste. You’ll find the best ingredients for this Chocolate Mint Pie at specialty grocery stores or online if you want to skip the run-around.
Here’s a flavor-boosting modification: toss a handful of chopped Andes Mints right into your whipped cream topping for extra minty bursts.
Budget-friendly tip? Use store-brand chocolate wafers if you want to save bucks—the crust still stays luscious.
Pro storage wisdom: soften cream cheese at room temp for smooth mixing; cold products will fight you every step!
If you want to try a twist on this chocolate pie with mint, check out some other killer mint chocolate pie recipes like the Chocolate Mint Cream Pie that amps up the cream factor or the no-bake versions at Beyond the Butter and A Latte Food for speedy wins.
Step-by-Step Instructions:
- Make the crust: Mix chocolate cookie crumbs and melted butter until it looks like moist sand. Press firmly into a 9-inch pie plate’s bottom and sides. Chill in the fridge while you make the filling. Don’t stress—your Chocolate Mint Pie crust sets in about 15 minutes, locking in that crunch.
- Prepare the filling: In a double boiler or microwave-safe bowl, melt your semi-sweet chocolate chips until smooth. Pro tip for Chocolate Mint Pie perfection: stir constantly to avoid burning and get that glossy finish.
- Mix cream cheese and powdered sugar: Beat until creamy and smooth. Slowly add peppermint extract—this is where the mint magic kicks in!
- Whip the heavy cream: In a chilled bowl, whip until soft peaks form. Fold gently into the cream cheese mixture, then fold in the melted chocolate. Your filling should look silky, glossy, and fluffy—total dream texture.
- Assemble: Pour the luscious mint chocolate filling into your pre-chilled crust. Level out with a spatula, then pop it into your fridge for at least 4 hours or overnight. This chilling step is crucial to set your Chocolate Mint Pie into that irresistible sliceable dream.
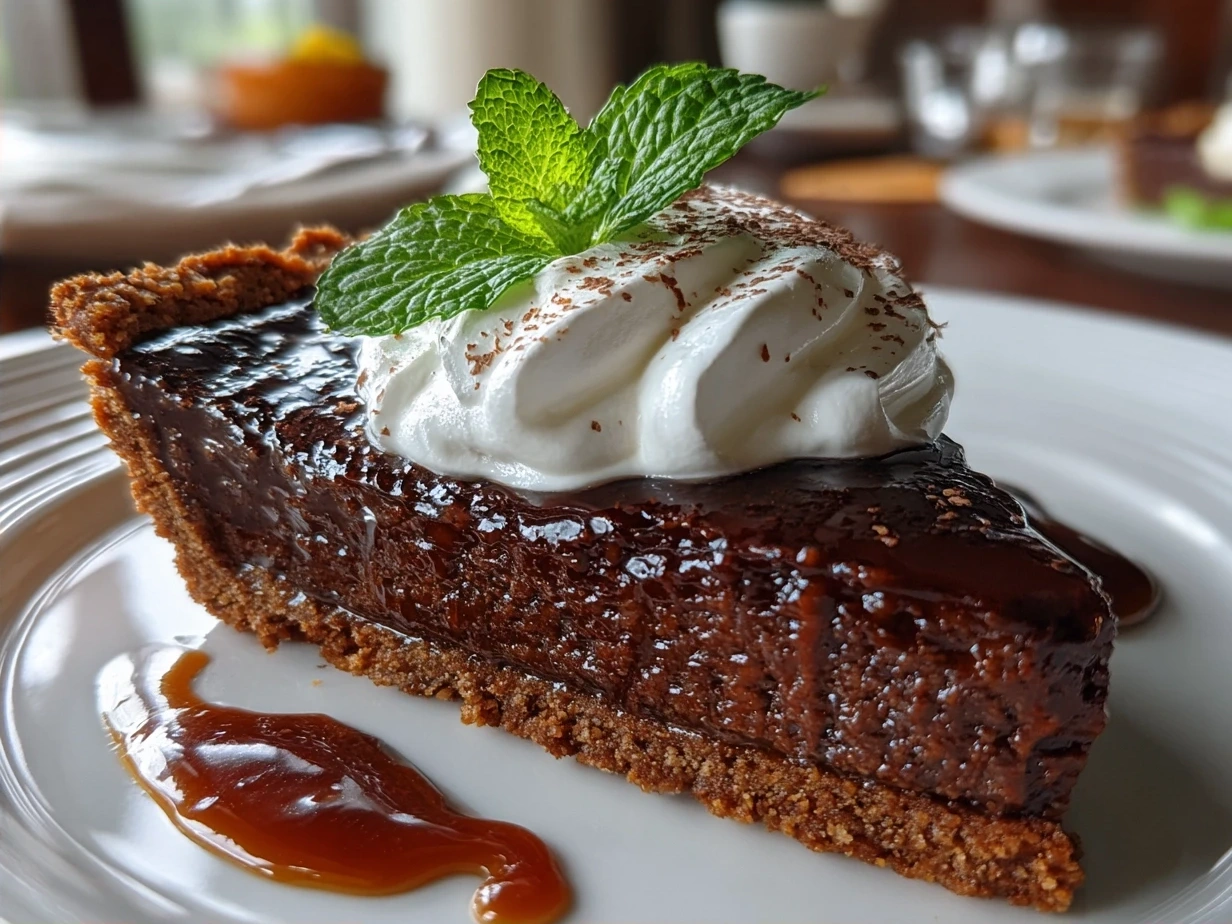
- Garnish like a pro: Before serving, spread a generous layer of whipped cream on top. Sprinkle chocolate shavings or crushed candy canes for that crowd-stopping presentation.
Here’s where most people mess up their Chocolate Mint Pie—rushing the chill time! Don’t do it. Let it firm up properly for clean slices that WOW.
While your Chocolate Mint Pie chills, grab your camera—this is Instagram gold. Trust me, the glossy filling and fresh mint green tones pop every time.
In my kitchen, this Chocolate Mint Pie takes exactly 6 hours from start to finish with chilling included. The texture and flavor meld into a piece of silky heaven. If you find your pie too soft, a quick 30-minute freeze fixes that right up.
Presentation:
People absolutely lose their minds when I serve this Chocolate Mint Pie at family gatherings or holiday dinners. The first sight of the creamy mint layers and chocolate crust sends immediate “OMG” vibes.
Presentation Power: Serve slices on white plates for max contrast to highlight the rich, dark chocolate and pale green mint layers. Accent with fresh mint leaves on top or a drizzle of chocolate syrup for a luxe touch.
Pair boldly—pair this Chocolate Mint Pie with a hot espresso or a mint-infused mojito for a party that slaps! For a sharp, fresh bite after, nothing beats a handful of fresh raspberries alongside. If this recipe rocks your world, you NEED to try the incredible raspberry and white chocolate flavor explosion in my Raspberry White Chocolate Cake Roll.
Perfect occasions? Holiday dinners, summer cookouts, or just to declare a Tuesday a full-on flavor fiesta.
Leftover hack? Turn any slice into mint chocolate ice cream sandwiches with your favorite cookie. Just layer and freeze overnight—a new mint chocolate dessert adventure born!
Seasonal spin: Add peppermint candy pieces in the crust for Christmas magic or swap peppermint extract for fresh mint infused in the cream for a springtime fresh-up.
This Chocolate Mint Pie absolutely slays at dinner parties and potlucks alike—don’t be surprised if it disappears off the table before the main course!
FAQs:
Q: Can I make this Chocolate Mint Pie spicier?
A: Yes! Add a pinch of cayenne or chili powder to the chocolate while melting. It adds a subtle heat underneath that bright mint chocolate pie flavor—unexpected but unforgettable.
Q: What if I don’t have peppermint extract for my Chocolate Mint Pie?
A: No worries! You can steep fresh mint leaves in your heavy cream for 30 minutes before whipping, then strain—the flavor will be fresh but milder. Or, check out the no-buy options in the no-bake mint chocolate pie variations like Beyond the Butter’s recipe.
Q: How do I know when my Chocolate Mint Pie is perfectly done?
A: When the filling is fully set and slices cleanly without running, you’re golden. After chilling 4+ hours, the pie should feel firm but still creamy.
Q: Can I make this chocolate mint cream pie ahead?
A: Absolutely! Making it a day ahead makes the flavors sing and keeps that crust crunchy. Cover tightly to avoid fridge odors.
Q: Can I swap the heavy cream for something lighter?
A: You could try coconut cream for a dairy-free twist; it changes the texture slightly, but still pretty tasty for mint chocolate lovers.
Q: How long will leftovers of this chocolate mint pie keep?
A: Stored in an airtight container, it lasts up to 3 days in the fridge. Beyond that and flavor dips.
Q: Any other flavor twists for this mint chocolate dessert?
A: Oh yes! Add coffee powder to the chocolate for mocha vibes or sprinkle sea salt on top for salty-sweet madness.
Community feedback says this Chocolate Mint Pie recipe has converted many skeptics into mint-chocolate fanatics—bold flavors rock!
Conclusion:
This Chocolate Mint Pie captures everything Cuba Queen stands for—a flavor punch you own proudly and isn’t afraid to make noise. It’s fresh, indulgent, and a little daring, just like every recipe I share.
My Chocolate Mint Pie Power Tips:
– Use real peppermint extract for that signature fresh kick.
– Don’t skip chilling; the wait makes all flavors sing.
– Always press your crust firmly—it’s the crunchy backbone of the pie.
I’ve whipped up a bunch of Chocolate Mint Pie variations—peppermint bark chopped into the crust, no-bake mint chocolate pies, and even a triple-chocolate mint brownie mash-up (you can check out my triple chocolate brownies for inspo here). The triple-chocolate mint pie gets the wildest reactions every time.
Make this Chocolate Mint Pie your signature bold dessert and own every celebration with it. Throw on some music, grab your whisk, and get ready for epic flavor memories.
Now go create your flavor adventure and don’t forget to share your Chocolate Mint Pie results—I’m dying to see those slices of satisfaction light up your kitchen!
Ready for another minty ride? Check out my peppermint bark cinnamon rolls if you want more mint fixes at this link. Every bite is a flavor fiesta!
Chocolate Mint Pie

A rich and refreshing chocolate mint pie featuring a creamy chocolate filling with cool mint flavor, perfect for a decadent dessert.
- Prep Time: 15 minutes
- Cook Time: 0 minutes
- Total Time: 4 hours 15 minutes
- Yield: 8 servings
- Category: Dessert
- Method: No-Cook
- Cuisine: American
Ingredients
- 1 9-inch chocolate cookie crust
- 1 cup heavy cream
- 8 oz semi-sweet chocolate, chopped
- 1/2 cup powdered sugar
- 1/2 tsp peppermint extract
- 1 cup crushed peppermint candies or candy canes
- Whipped cream, for topping (optional)
- Fresh mint leaves, for garnish (optional)
Instructions
- Heat the heavy cream in a saucepan over medium heat until it begins to simmer.
- Remove from heat and pour over the chopped chocolate in a heatproof bowl. Let sit for 2 minutes.
- Stir until smooth and glossy chocolate ganache forms.
- Mix in the powdered sugar and peppermint extract until fully combined.
- Pour the mixture into the prepared chocolate cookie crust and smooth the top.
- Sprinkle the crushed peppermint candies evenly over the pie surface.
- Refrigerate the pie for at least 4 hours or until set.
- Before serving, optionally top with whipped cream and garnish with fresh mint leaves.
Notes
For an extra minty flavor, add a few drops of green food coloring to the chocolate mixture before chilling.