
Let’s talk about my new obsession: Burnt Honey Pie. Forget everything you think you know about pie because this recipe is about to blow your mind.
It all started last month when I was playing around with different honey infusions. I accidentally let some wildflower honey get a little too caramelized. Instead of tossing it, I tasted it.
And that’s when the magic happened. The slight bitterness with the deep sweetness? BOOM! I knew I had to turn this into a pie. This Burnt Honey Pie is not just a dessert. It’s a statement.
It’s a testament to Cuba Queen’s bold flavor philosophy. We don’t shy away from big tastes! I spent weeks perfecting this recipe, and now, I’m ready to share this recipe for a Burnt Honey Pie with you. Get ready to set your tastebuds on FIRE!
INGREDIENTS You Need for This:
This Burnt Honey Pie ingredient list is SHORT but mighty!
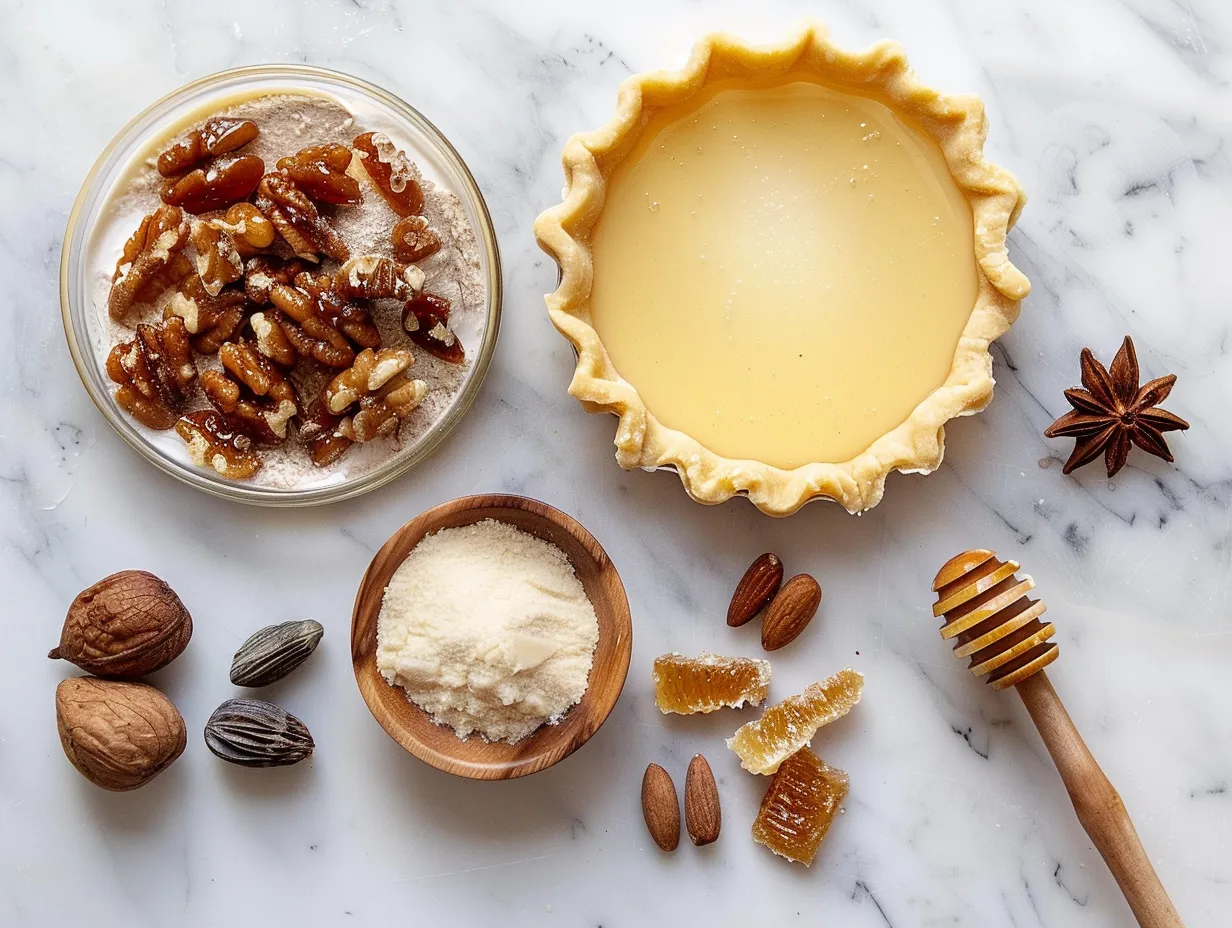
- 1 ½ cups all-purpose flour: This is your base. Don’t skimp on quality – good flour makes a difference!
- ½ teaspoon salt: Essential for balancing the sweetness.
- ½ cup (1 stick) unsalted butter, cold and cubed: Keep it COLD! This is key to a flaky crust.
- ¼ cup ice water: Add it slowly, until the dough comes together.
- 1 cup heavy cream: The richness factor? Off the charts!
- ½ cup granulated sugar: The perfect amount of sweetness.
- 4 large egg yolks: These add richness and bind the custard beautifully.
- 1 teaspoon vanilla extract: Adds depth and complexity.
- ½ teaspoon kosher salt: Enhances the caramelization of the honey
- 1 cup honey: The best ingredient for this Burnt Honey Pie!
The secret to epic Burnt Honey Pie is using high-quality honey. I prefer a local wildflower honey for its complex flavor. You’ll find the best ingredients for a brown butter Burnt Honey Pie at your local farmer’s market! Splurge on this one Burnt Honey Pie ingredient – trust me. Store excess honey in a cool, dry place.
STEP-BY-STEP INSTRUCTIONS:
Alright, let’s get down to business! Don’t stress – your Burnt Honey Pie is going to be incredible.
- Make the Crust: In a large bowl, whisk together the flour and salt. Cut in the cold butter using a pastry blender or your fingers until the mixture resembles coarse crumbs. This should take 5-7 minutes.
- Add the Water: Gradually add the ice water, mixing until the dough just comes together. Don’t overmix! Overmixing means tough crust. Trust me, I know this from experience!
- Chill the Dough: Form the dough into a disc, wrap it in plastic wrap, and chill for at least 30 minutes. This is crucial for a flaky crust, flavor adventurers!
- Roll Out the Dough: On a lightly floured surface, roll out the dough to a 12-inch circle. Transfer it to a 9-inch pie plate. Crimp the edges decoratively.
- Blind Bake: Dock the bottom of the crust with a fork and blind bake at 375°F (190°C) for 15-20 minutes, or until lightly golden brown. Pro tip for Burnt Honey Pie perfection: use pie weights to prevent the crust from puffing up.
- Make the Honey Custard: In a medium saucepan, cook the honey over medium heat, stirring occasionally, until it turns a deep amber color and smells nutty, about 8-10 minutes. Watch it CLOSELY – burnt honey goes from delicious to acrid quickly. This is where your recipe for Burnt Honey Pie transforms into pure magic.
- Whisk the Cream and Sugar: In a separate bowl, whisk together the heavy cream and sugar.
- Temper the Egg Yolks: Slowly drizzle the hot honey into the cream mixture, whisking constantly to prevent the egg yolks from cooking. Then, whisk in the egg yolks, vanilla, and salt until smooth. Here’s where most people mess up their Burnt Honey Pie – but not you!
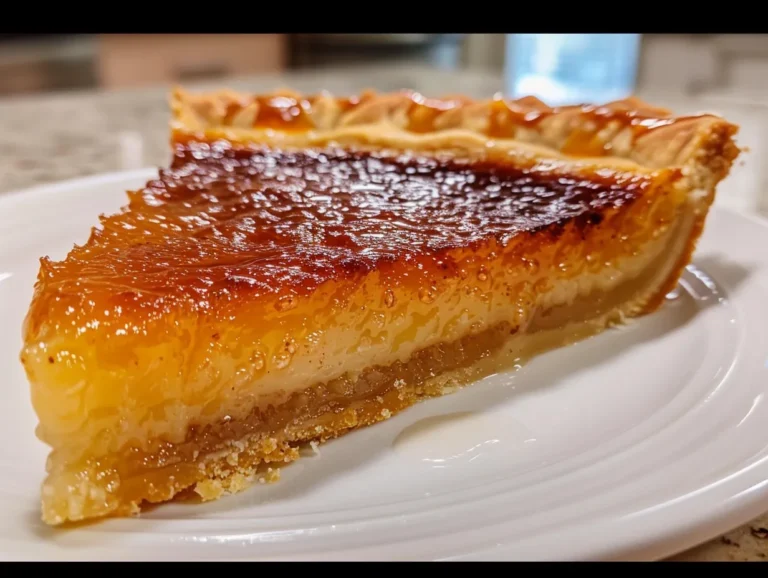
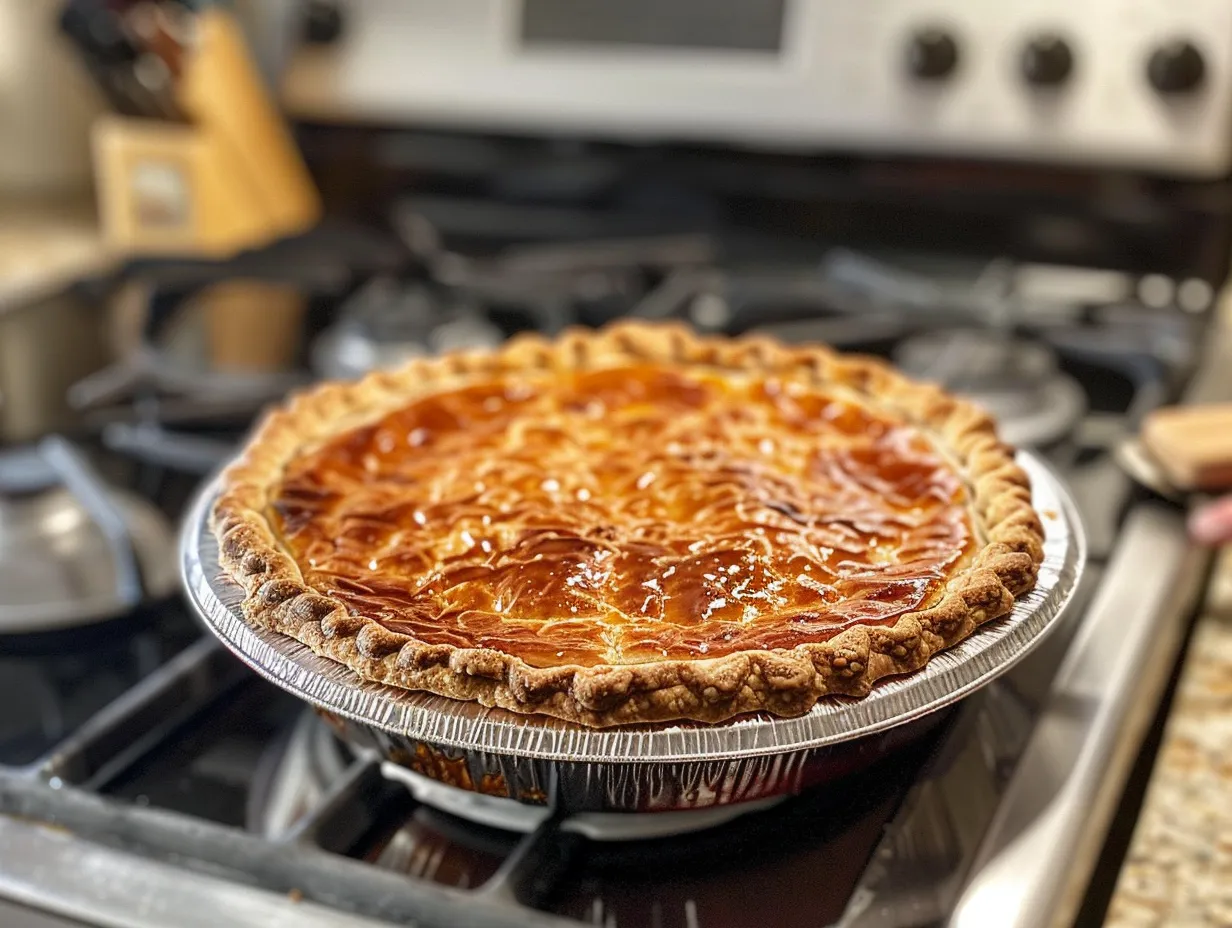
- Pour and Bake: Pour the custard into the pre-baked pie crust. Bake at 325°F (160°C) for 30-40 minutes, or until the filling is set around the edges but still slightly jiggly in the center. Your Burnt Honey Pie should look/smell/feel like a wobbly, golden dream.
- Cool Completely: Let the pie cool completely on a wire rack before serving. Chilling it in the fridge for a few hours will make it even easier to slice. While your salted Burnt Honey Pie is working its magic, grab your camera – this is Instagram gold!
PRESENTATION:
People absolutely lose their minds when I serve this Burnt Honey Pie at dinner parties!
Dust your Burnt Honey Pie with a light coating of powdered sugar right before serving. The contrast between the dark honey and the white sugar is stunning. A dollop of freshly whipped cream on top adds a touch of elegance and a creamy texture that complements the burnt honey flavor perfectly.
For a truly show-stopping presentation, consider garnishing with a few edible flowers or a sprinkle of sea salt. This Burnt Honey Pie absolutely slays at dinner parties!
Perfect occasions for this burnt honey custard pie? Everything from Thanksgiving to a casual Sunday brunch. Its unique flavor profile makes it a conversation starter and a guaranteed crowd-pleaser.
Got leftovers? Transform them into a Burnt Honey Pie parfait! Layer crumbled pie with Greek yogurt and fresh berries for a quick and easy dessert.
For a seasonal twist, try adding a pinch of cinnamon or nutmeg to the custard during the fall. This Burnt Honey Pie reminds me of another flavor explosion, the Honeynut Squash Pasta – you should give it a try!
FAQs:
Q: Can I make this Burnt Honey Pie gluten-free?
Absolutely! Substitute the all-purpose flour with a gluten-free blend. Just make sure it’s a 1:1 replacement. You might need to adjust the amount of water slightly.
Q: What if I don’t have vanilla extract for my Burnt Honey Pie?
No problem! You can omit it, or substitute with a teaspoon of bourbon or rum for a little extra kick. This substitution gives it more complexity, which I’m all for.
Q: How do I know when my Burnt Honey Pie is perfectly done?
The filling should be set around the edges but still slightly jiggly in the center. It will continue to set as it cools. If the crust starts to brown too quickly, tent it with foil.
Q: Can I use a different kind of honey?
Definitely! Each type of honey will give the pie a slightly different flavor. Experiment with buckwheat, orange blossom, or even manuka honey for a unique twist. You can even find variations in the flavor depending on where you buy the ingredients.
Q: What if my honey crystallizes?
No worries! Just gently warm the honey in a saucepan until it becomes liquid again before using it in the recipe.
Q: Can I make this Burnt Honey Pie ahead of time?
Yes! This pie is actually better the next day, after the flavors have had a chance to meld. Store it in the refrigerator for up to 3 days. For more bold flavor adventures, check out this recipe for Spiced Shrimp with Roasted Honeynut Squash.
Q: The honey burned, what do I do?
Unfortunately you have to start again, burning honey is no joke and can completely ruin the pie!
CONCLUSION:
This Burnt Honey Pie represents everything Cuba Queen stands for: bold flavors, unapologetic indulgence, and a little bit of kitchen magic. It’s a pie that demands attention and delivers a taste experience you won’t soon forget.
My Burnt Honey Pie Power Tips:
- Use High-Quality Honey: It makes ALL the difference.
- Don’t Overbake: A slight jiggle in the center is your friend.
- Chill Completely: Patience is key for the best flavor and texture.
I’ve also experimented with a few variations that are just as incredible. Try adding a pinch of sea salt to the crust for a salted burnt honey pie. Or, infuse the cream with lavender for a floral twist. A burnt honey custard pie with sea salt is delicious! For inspiration, check out this Salted Honey Pie – David Lebovitz, or for another variation, see Burnt Honey Tart – by Edd Kimber – The Boy Who Bakes. You can also see what others are saying about it on this Reddit thread. I tried a version with brown butter in the crust which adds a nutty complexity.
The salted version always gets the biggest reactions – people can’t get enough of that sweet and salty combination.
I’m confident that you, my flavor adventurers, can make this Burnt Honey Pie your signature dish. Don’t be afraid to experiment and put your own spin on it.
Now go forth and create some Burnt Honey Pie memories! Share your results with me – I can’t wait to see your epic creations! This Burnt Honey Pie recipe is so delicious and easy to make. If this recipe rocks your world, you NEED to try this Sausage and Apple Stuffed Honeynut Squash!
Burnt Honey Pie
This Burnt Honey Pie is a sophisticated twist on a classic dessert. The caramelized honey filling offers a rich, smoky sweetness that’s perfectly balanced with a flaky pie crust.
- Prep Time: 25 minutes
- Cook Time: 50 minutes
- Total Time: 1 hour 15 minutes
- Yield: 8 servings
- Category: Dessert
- Method: Baked
- Cuisine: American
Ingredients
- 1 1/4 cups all-purpose flour
- 1/2 teaspoon salt
- 1/2 cup (1 stick) cold unsalted butter, cut into cubes
- 1/4 cup vegetable shortening, chilled
- 5-7 tablespoons ice water
- 1 cup honey
- 1/2 cup heavy cream
- 3 large eggs
- 1/4 teaspoon salt
- 1 teaspoon vanilla extract
Instructions
- Make the Crust: In a large bowl, whisk together flour and salt. Cut in butter and shortening using a pastry blender or your fingers until mixture resembles coarse crumbs.
- Gradually add ice water, 1 tablespoon at a time, mixing until dough just comes together. Form into a disc, wrap in plastic wrap, and chill for at least 30 minutes.
- Prepare the Filling: Preheat oven to 375°F (190°C). In a saucepan over medium heat, cook honey until it turns a deep amber color and has a burnt caramel aroma, about 8-10 minutes. Watch carefully to prevent burning.
- Remove from heat and whisk in heavy cream. Be careful, as it will bubble up. Let cool slightly.
- In a separate bowl, whisk together eggs, salt, and vanilla extract. Gradually whisk in the cooled honey mixture until smooth.
- Assemble and Bake: On a lightly floured surface, roll out dough to a 12-inch circle. Transfer to a 9-inch pie plate. Crimp the edges.
- Pour filling into the crust. Bake for 40-45 minutes, or until the filling is set but still slightly jiggly in the center.
- Let cool completely before slicing and serving.
Notes
Serve with a dollop of whipped cream or a scoop of vanilla ice cream for an extra touch of indulgence.