
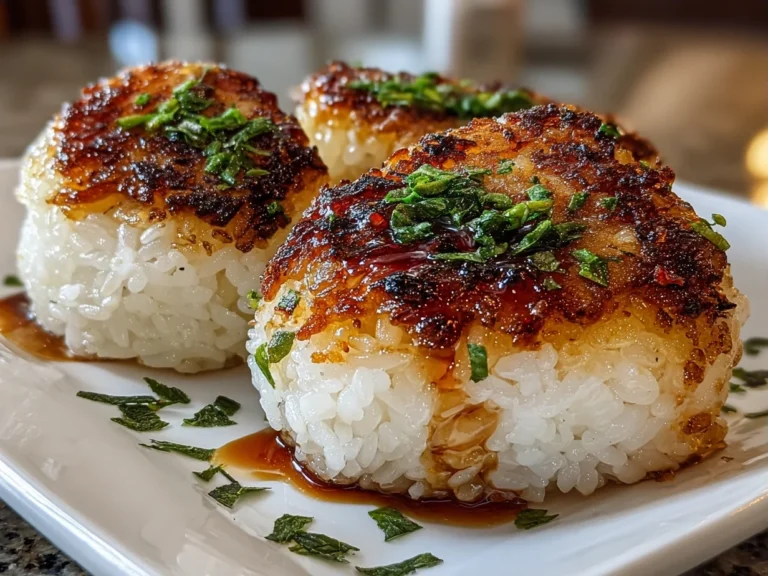
When I first bit into Easy Yaki Onigiri, I was sitting in a tiny Japanese street food stall tucked away in Tokyo’s back alleys. The moment that smoky, soy-glazed crispy rice ball touched my tongue, everything shifted. I wasn’t expecting so much flavor packed into this simple grilled rice ball. The charred edges with that savory yaki onigiri sauce had me hooked instantly. This wasn’t just a snack—it was a bold flavor explosion that perfectly matched my Cuba Queen philosophy: every bite should celebrate. That first taste pushed me to recreate this easy yaki onigiri recipe that delivers big flavor with zero fuss.
After testing dozens of variations in my own kitchen, I nailed exactly how to make grilled onigiri that come out perfect every time. The secret? It’s all in balancing the crispy grilled edges with a killer yaki onigiri sauce that hits salty, sweet, and umami notes like a flavor bomb. This easy yaki onigiri takes your regular rice ball game next-level and makes snack time a celebration.
I’m beyond excited to share this recipe with you because it’s insanely satisfying and happens fast—perfect for flavor adventurers who want bold Japanese snack recipes without complexity. If you think onigiri is just plain rice balls, wait until you flip these grilled rice balls off the skillet. They speak loudly, they deliver big, and they scream celebration-worthy flavor all in one bite. Prepare to fall in love and add a new signature dish to your go-to recipe list.
If you want to dive deeper into how easy it is to nail grilled rice balls, check out this crispy yaki onigiri recipe for ultimate texture. Trust me, it complements your flavor adventure perfectly!
Ingredients You Need for This
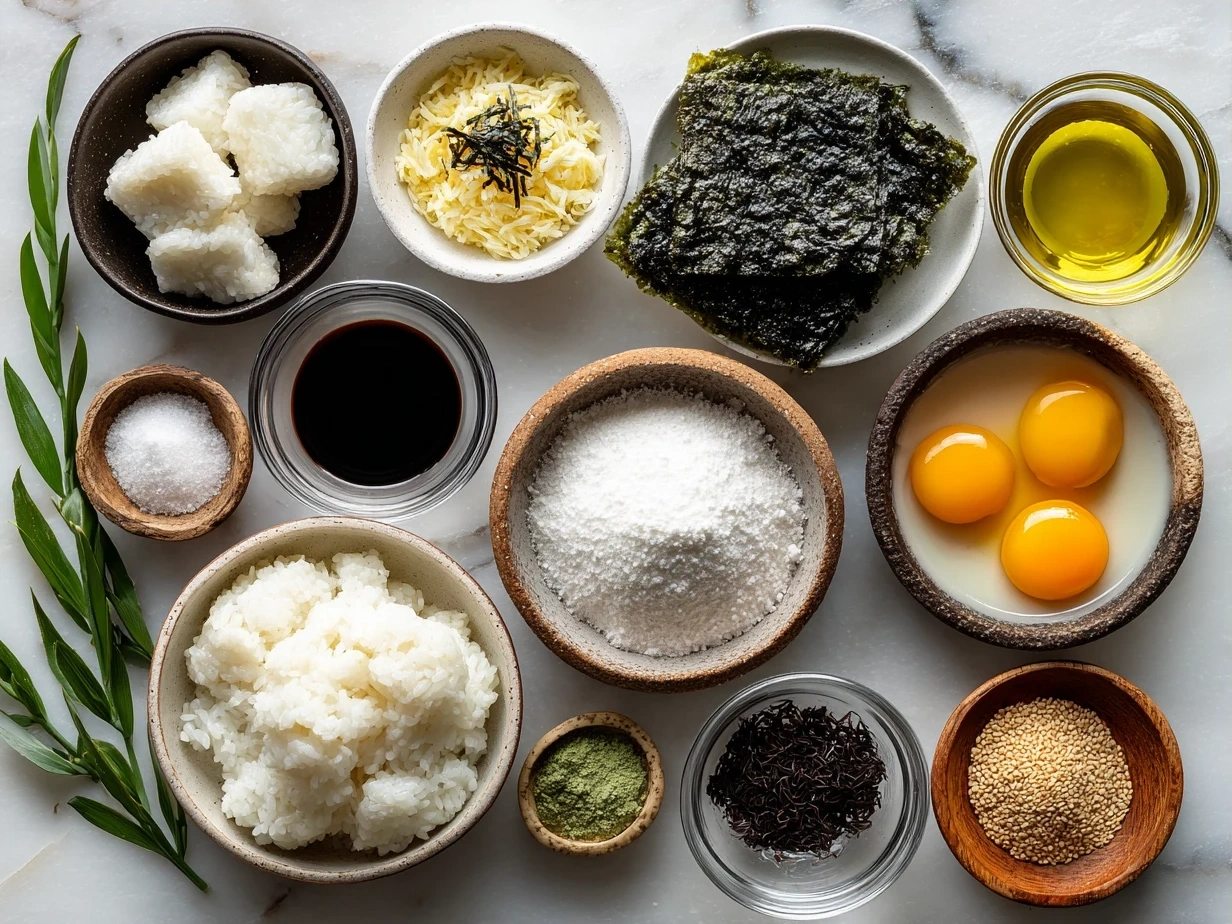
Here’s the thing: this easy yaki onigiri ingredient list is SHORT but mighty! You’re building your grilled rice balls with ingredients that pack intense flavor and an unbeatable crunch.
- 2 cups Japanese short-grain rice (cooked and slightly cooled; sticky yet firm)
- 2 tablespoons soy sauce (the soul of your yaki onigiri sauce)
- 1 tablespoon mirin (adds sweet depth)
- 1 teaspoon sake (game-changing for subtle aroma, trust me)
- 1 tablespoon sesame oil (for grilling and flavor boost)
- 1 sheet nori (cut into strips for wrapping)
- Optional: sesame seeds for extra crunch
Here’s the easy yaki onigiri game-changer that will blow your mind: mirin! Swapping out sugar for mirin gives you a smoother, more authentic glaze without over-sweetening. You’ll find the best ingredients for this easy yaki onigiri at your local Asian grocery store or quality supermarket’s international aisle.
Splurge on the sake if you want that elevated flavor layer—it really turns the yaki onigiri sauce from simple to unforgettable. Don’t worry if you need budget-friendly alternatives; dry sherry or a pinch of rice vinegar can fill this role and still deliver bold taste.
Store your cooked rice covered in the fridge for up to 2 days. Make sure it’s slightly cooled, so it doesn’t fall apart during grilling. Prepping all your sauce ingredients ahead keeps your easy onigiri recipe running smoothly.
If you want to switch things up, try adding grilled fillings inside your rice balls like spicy tuna or pickled plum for an epic twist. For inspiration, peek at this grilled rice balls guide for creative variations Yaki Onigiri (Grilled Rice Balls) | Okonomi Kitchen.
Step-by-Step Instructions
Ready to master how to make grilled onigiri that crush every expectation? Here’s the step-by-step that turns your rice into a sizzling masterpiece.
- Shape Your Rice Balls: Wet your hands to prevent sticking, then grab about ½ cup of rice and mold it tightly into a triangle or round shape. Don’t over-compact it, or your easy yaki onigiri will be dense and sad.
- Prep Your Yaki Onigiri Sauce: Whisk together soy sauce, mirin, and sake in a small bowl. This flavor-packed sauce is where your grilled rice balls get their signature kick.
- Heat Your Skillet: Pour sesame oil into a non-stick pan over medium heat. The oil adds crunch and prevents sticking.
- Grill Your Rice Balls: Place your rice balls in the skillet carefully. Let them cook undisturbed for about 3-4 minutes on one side. You’re looking for a golden brown crisp that’s just starting to char.
- Flip and Brush: Flip each rice ball gently, brush the browned side with your yaki onigiri sauce. Let it sizzle and caramelize for 2 minutes.
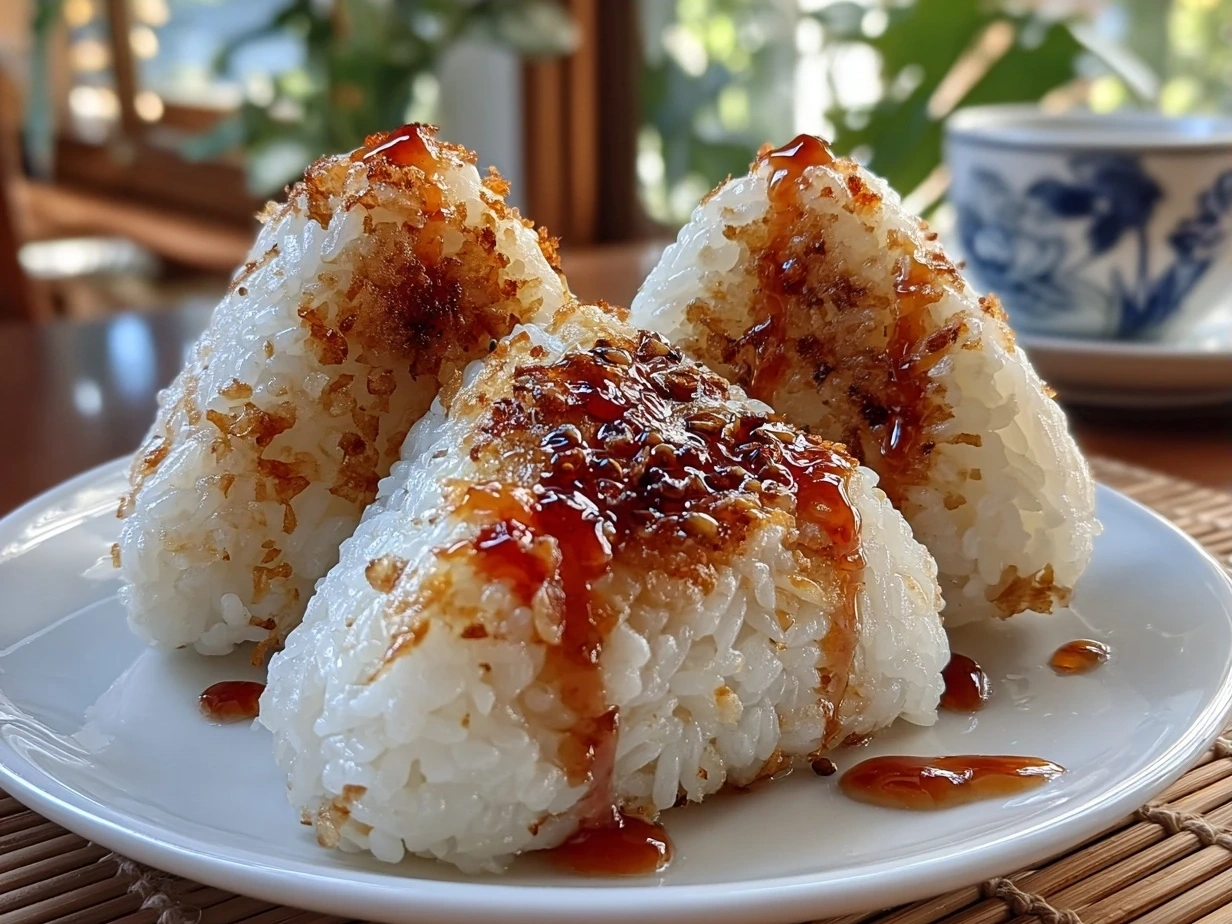
- Repeat for All Sides: Keep flipping and brushing on all sides. For best results, grill until each side is evenly golden and lacquered with sauce. Your easy yaki onigiri should smell smoky and look like mini rice treasures.
- Wrap with Nori: If you’re wrapping your grilled rice balls with nori, do it once they’re out of the pan but still warm. The seaweed sticks better and adds an irresistible umami pop.
Don’t stress – your easy yaki onigiri is going to be incredible if you follow these steps. Pro tip for easy yaki onigiri perfection? Use a silicone brush for even sauce coverage. In my kitchen, this easy yaki onigiri takes about 15 minutes from shaping to plating, making it perfect for quick snacks or weeknight wonders.
This is where your easy yaki onigiri transforms into pure magic. While your grilled rice balls are cooking, grab your camera—this is Instagram gold! The perfect golden crust and glossy glaze will wow your followers.
If you want more ideas on how to nail sauce combos or grilling techniques, this Reddit thread on crispy yaki onigiri offers a ton of crowd-tested advice Crispy Yaki Onigiri (Grilled Rice Balls) : r/JapaneseFood.
Presentation
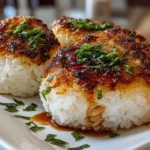
People absolutely lose their minds when I serve this easy yaki onigiri at gatherings. These grilled rice balls look humble but deliver a flavor punch that demands attention.
Serve your easy yaki onigiri on a rustic bamboo plate or ceramic dish, arranging them in rows with a sprinkle of toasted sesame seeds and a side of pickled ginger. The visual contrast between golden rice crusts and dark nori strips is stunning.
Pair these grilled rice balls with bold sides like spicy Korean kimchi, miso soup, or a fresh cucumber salad. For a Cuba Queen vibe, I recommend pairing with my spicy buffalo chicken mac and cheese for a full-on flavor fiesta. It’s an unexpected combo that takes both dishes to the next level.
This easy yaki onigiri absolutely slays at dinner parties, impressing people who think snacks can’t deliver complex texture and umami layers. I’ve even served leftover easy yaki onigiri sliced atop fresh greens for a flavorful rice salad remix that gets rave reviews.
Seasonal variations? Try brushing the easy yaki onigiri sauce with a little chili oil for winter heat or add toasted pine nuts in spring for crunch. The flexibility here is insane.
FAQs
Here’s the real talk on easy yaki onigiri questions I get from flavor adventurers like you:
Q: Can I make this easy yaki onigiri spicier?
A: Yes! Add a dash of chili oil or sprinkle red pepper flakes in your yaki onigiri sauce before grilling. I’ve tested this and the heat pairs beautifully with the savory glaze.
Q: What if I don’t have mirin for the sauce?
A: Swap with a teaspoon of sugar + a teaspoon of rice vinegar for a similar sweet and tangy balance. It’s a solid budget-friendly hack that keeps great flavor.
Q: How do I know when my easy yaki onigiri is perfectly done?
A: You want a crunchy, golden crust with caramelized edges. If your rice ball is sticking or mushy, your pan isn’t hot enough or your rice wasn’t packed tight enough. Keep testing batches until you see that beautiful crust.
Q: Can I grill these on an outdoor grill?
A: Absolutely. Grease your grill rack well and watch closely. Outdoor grilling adds a smoky layer that takes your grilled rice balls to a whole new level.
Q: How long can I store leftover easy yaki onigiri?
A: Keep in an airtight container in the fridge for up to 2 days. Reheat in a skillet or toaster oven to bring back the crisp.
Q: Can I stuff fillings inside my onigiri?
A: Yes! Classic fillings like spicy tuna, umeboshi, or miso-glazed vegetables work like magic. Just shape the rice around your filling carefully.
Q: How do I make gluten-free yaki onigiri sauce?
A: Swap soy sauce for tamari or coconut aminos, and double-check mirin ingredients. Your grilled rice balls keep their magic without gluten.
The community feedback on this easy yaki onigiri is off the charts. Everyone loves how approachable yet bold the flavors are. I’m confident you’ll feel the same fire when you make this recipe your own.
For a comforting, bold dinner to match your onigiri vibes, try my prime rib roast recipe next. It’s another flavor bomb for special occasions. And when you want something cozy and soulful, my slow cooker chicken noodle soup is a no-fail go-to.
Conclusion
This easy yaki onigiri embodies everything Cuba Queen stands for—bold, unapologetic flavors that turn everyday eating into a celebration. It’s quick, satisfying, and packed with that smoky, savory punch that keeps flavor adventurers coming back.
My Easy Yaki Onigiri Power Tips:
- Use high-quality Japanese short-grain rice for perfect stick and texture.
- Don’t skip the sake in your yaki onigiri sauce for authentic depth.
- Grill over medium heat for crisp, golden crust without burning.
I’ve created spicy, seaweed-wrapped, and stuffed versions of easy yaki onigiri, and each hits differently. The spicy chili oil brush gets the loudest cheers; it’s a total crowd-pleaser.
Make this grilled rice ball recipe your signature easy yaki onigiri. I’m 100% confident it’ll wow your family, friends, and followers alike. Your kitchen’s next flavor adventure starts here.
When you make your own easy yaki onigiri, tag me or drop your photos and stories. Let’s keep this bold flavor party going strong! For more mouthwatering inspiration, you NEED to try this prime rib roast recipe or dive into my spicy buffalo mac recipe that keeps the heat high and the comfort real.
Let’s make delicious memories with easy yaki onigiri right now!
Easy Yaki Onigiri
Easy Yaki Onigiri are grilled Japanese rice balls crisped to perfection and brushed with savory soy sauce, making a delicious and simple snack or side dish.
- Prep Time: 10 minutes
- Cook Time: 15 minutes
- Total Time: 25 minutes
- Yield: 4 servings
- Category: Snack
- Method: Grilled
- Cuisine: Japanese
Ingredients
- 2 cups cooked Japanese short-grain rice
- 2 tablespoons soy sauce
- 1 tablespoon mirin
- 1 tablespoon vegetable oil or sesame oil
- Optional: toasted sesame seeds for garnish
Instructions
- While the rice is still warm, shape it into 4 triangular or oval rice balls using wet hands to prevent sticking.
- Heat a non-stick skillet or grill pan over medium heat and add the oil.
- Place the rice balls in the pan and cook for 3–4 minutes on each side, pressing gently with a spatula to create a crispy crust.
- Mix soy sauce and mirin together, then brush the mixture onto each side of the rice balls while cooking.
- Cook until the rice balls are golden brown and caramelized, about 2 minutes more per side.
- Optionally sprinkle with toasted sesame seeds before serving. Serve hot.
Notes
For extra flavor, try adding a small piece of umeboshi (pickled plum) or grilled cheese inside the rice balls before shaping.